
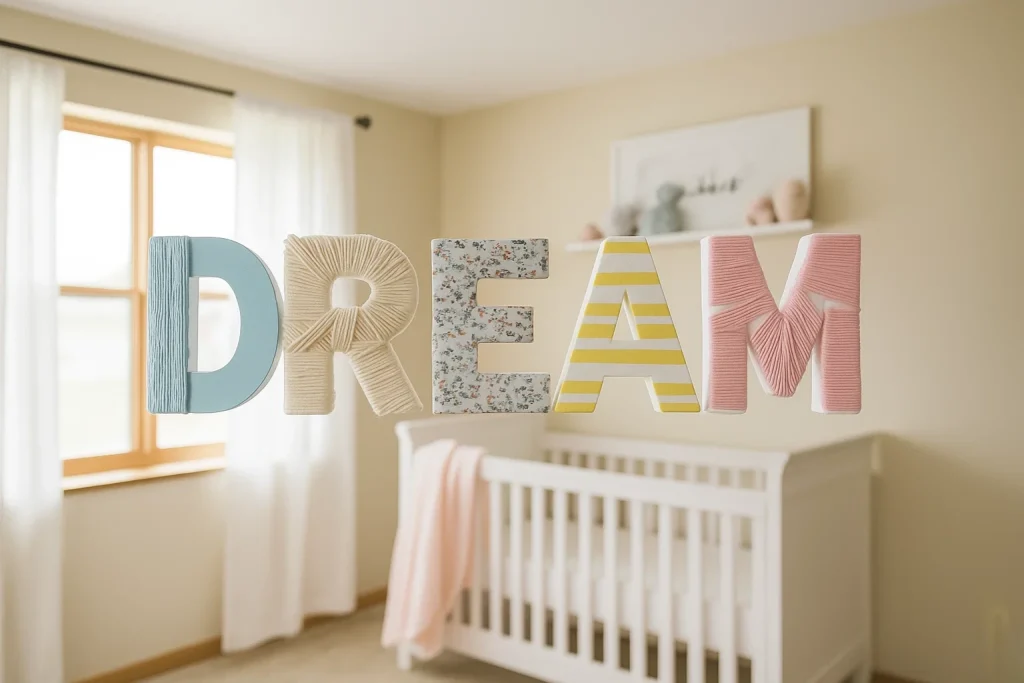
Decorating a nursery or a child’s bedroom is one of the most joyful parts of preparing for a new arrival or updating their space. A personalized name sign is a beautiful focal point, and creating one yourself makes it even more special. This guide will show you how to use our lightweight styrofoam letters to craft a stunning piece of décor that’s safe, stylish, and full of love.
This project is perfect as a heartfelt baby shower gift or a fun weekend activity to add that finishing touch to your child’s room.
What You’ll Need:
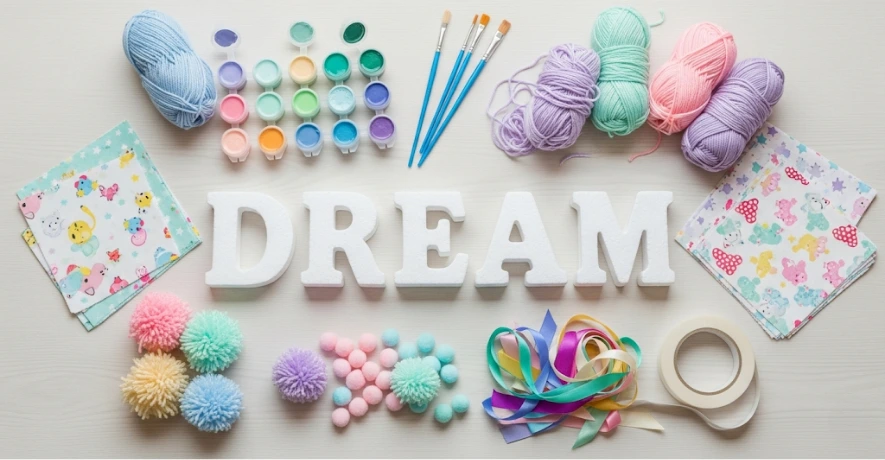
- Magic Perlas Styrofoam Letters: Choose the letters to spell out a name, initials, or an inspiring word like “DREAM,” “READ,” or “PLAY.”
- Your Chosen Decorations:
- Non-toxic acrylic craft paint and brushes.
- Colorful yarn or wool.
- Fun fabric scraps and fabric glue (Mod Podge also works well).
- Embellishments like pom-poms, ribbons, buttons, or small faux flowers.
- Mounting Supplies: Strong, double-sided mounting tape or removable wall strips.
How to Mount Your Sign
Thanks to their incredibly light weight, hanging your finished letters is simple and safe. Once your decorated letters are completely dry, apply strips of strong, double-sided mounting tape or removable wall strips to the back. Press each letter firmly onto the wall, using a level to make sure your sign is perfectly straight. No nails or heavy hardware needed!
A personalized sign is more than just a decoration; it’s a keepsake that will be cherished for years.
Ready to create a beautiful, personalized gift? Browse our full alphabet of Magic Perlas Styrofoam Letters and start crafting a piece that is truly made with love.